Github Pages + Hexo 从零搭建个人博客(三):Next 主题美化
首先来讲一下站点配置文件和主题配置文件
- 站点配置文件
- 位于博客根目录下的
_config.yml
- 位于博客根目录下的
- 主题配置文件
- 位于 themes / next 中的
_config.yml
- 位于 themes / next 中的
站点配置
主题配置
更换内置主题
在Schemes下可以看到这些主题,去掉想要的主题前面的 #
即可
1 | # Schemes |
这里我选择了 Mist 主题,我很喜欢他的顶部导航栏
设置菜单
- 把你想要展示的东西都取消注释掉
1 | # --------------------------------------------------------------- |
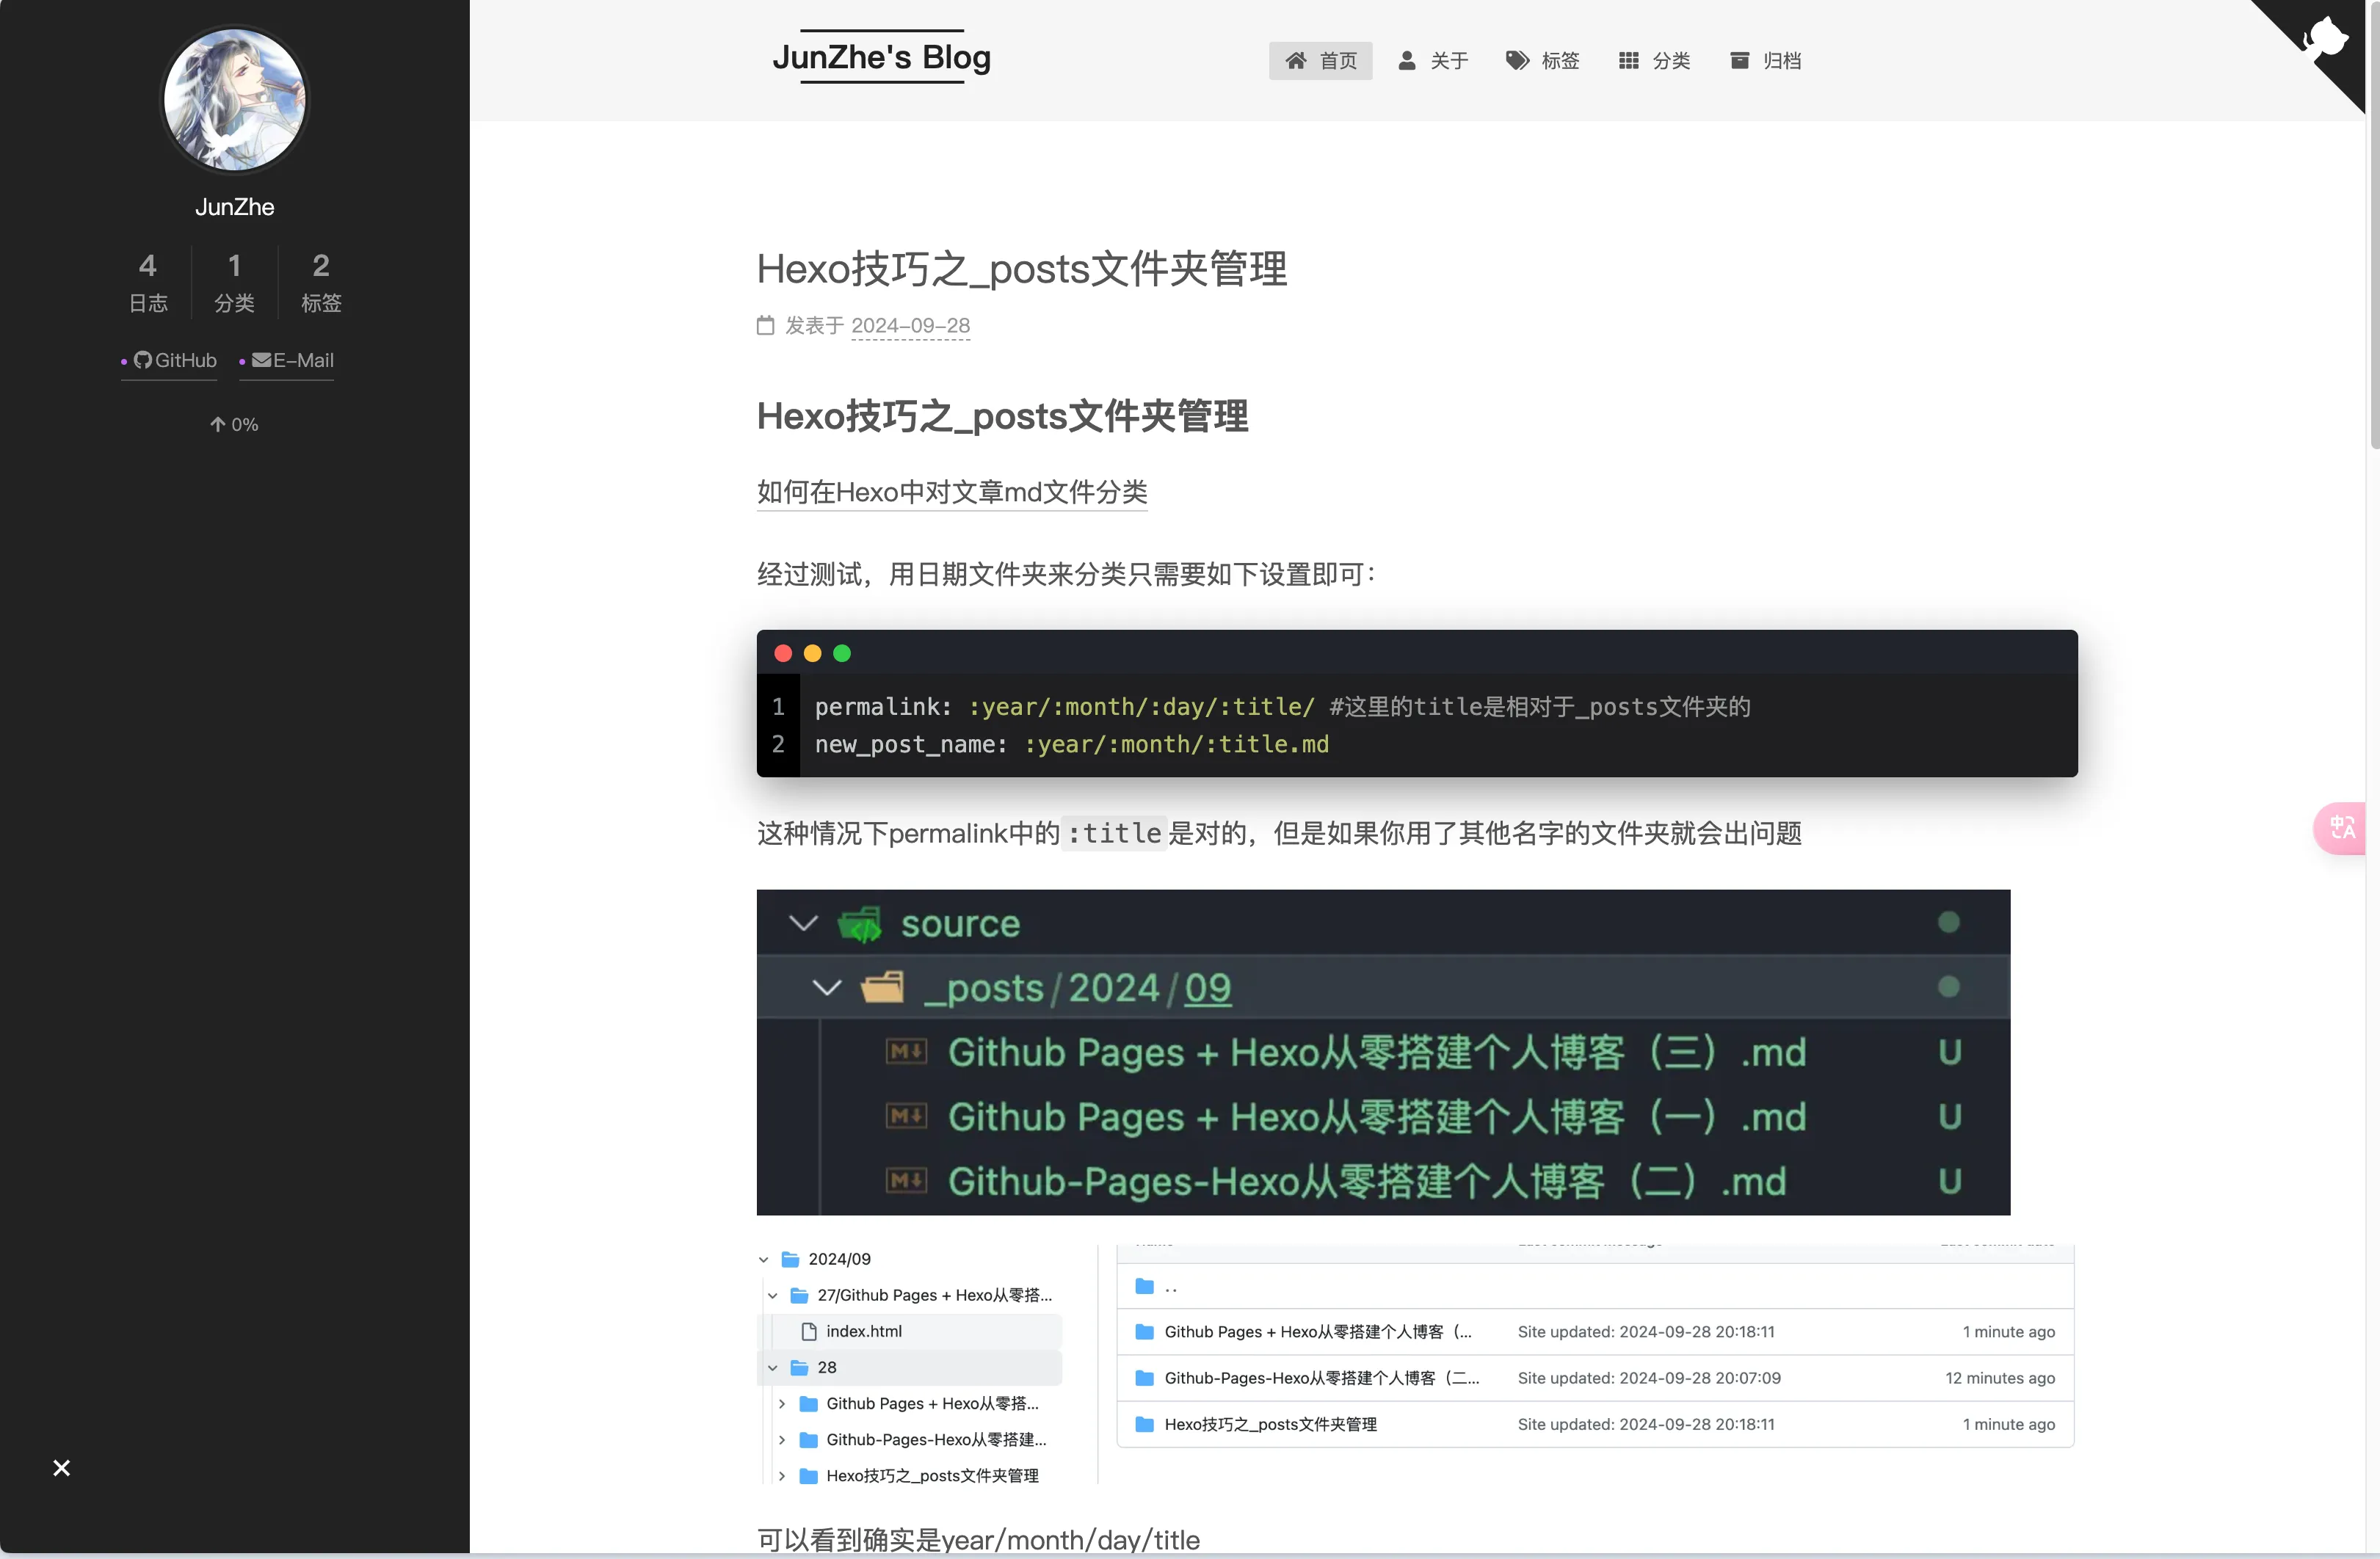
这时候在本地预览里可以看到这些入口已经出现了,但是点进去会报错Cannot GET /tags/
这是因为你还没有在_post 里面新建页面(page)。
如果需要更改图标,可以进入Font Awesome 获取新图标,只需将||后的内容改为 “fa + 复制的图标” 即可
- 进入终端,输入命令(以创建 tags 为例)
1 | cd Blogs |
完成以后在 Blogs / source 目录中会出现 tags 文件夹,其中含有 index.md 文件,文件内容如下:
1 | --- |
- 接下来添加字段:
type: tags(必须要添加,不然网页里是不会显示内容的)
1 | --- |
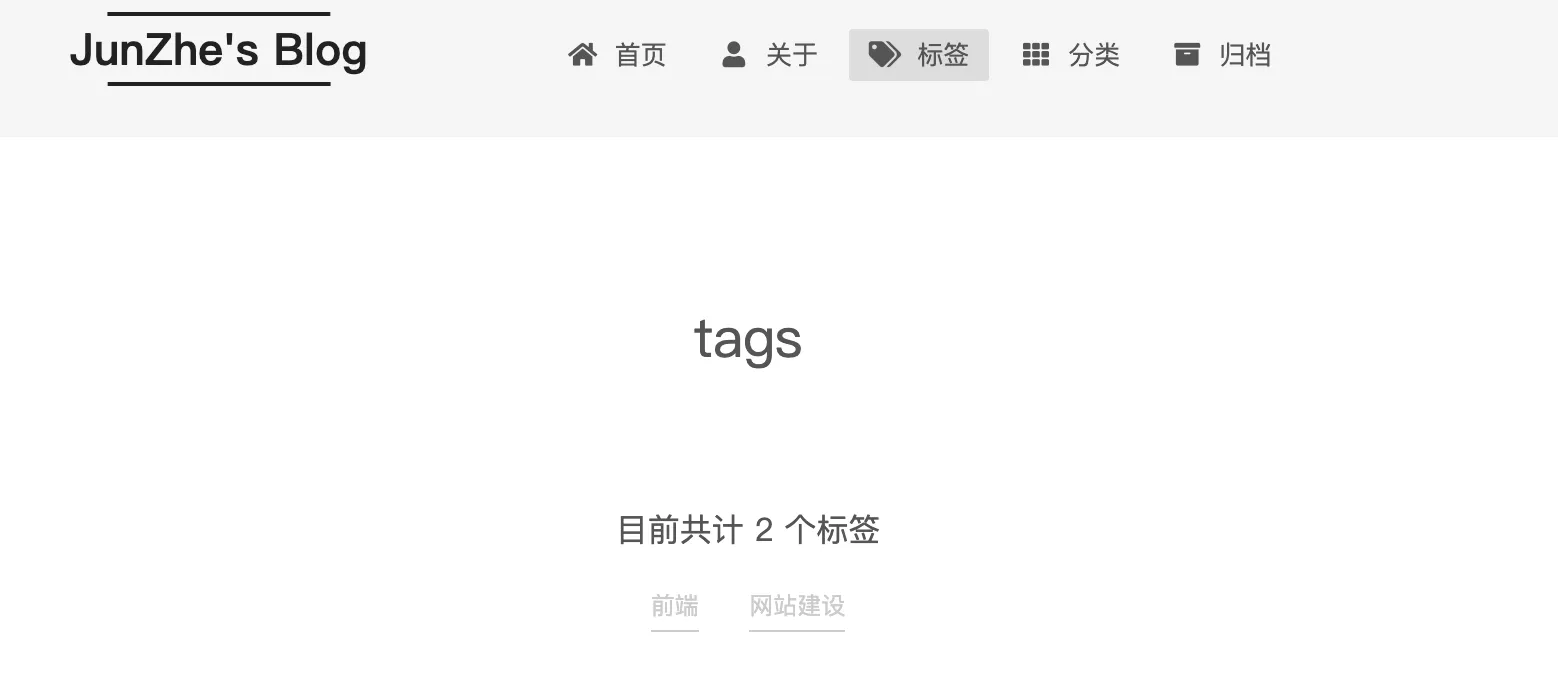
这样就对了
其实这个的原理就是在 hexo g 的时候会在 public 文件夹下生成 tags 文件夹,里面是由刚刚的 index.md 生成的 index.html,它包含了 tags 这个页面的全部内容
其他的几个都同理
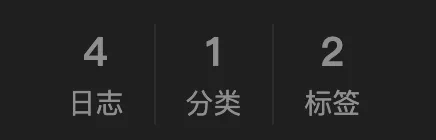
- (可选)为菜单栏的图标添加内容数量统计,效果如下:

设置侧边栏
1 | # --------------------------------------------------------------- |
position:sidebar 是在左边还是右边展示
width:sidebar 的宽度
display:默认的显示模式,是默认为展开还是默认为关闭,看个人喜好吧,我默认关闭
padding:和顶部的距离,数字越大你的名字、头像这些东西和上面离得越开,默认的 18 太顶天了,我改成 30 了
onmobile:当你把网页侧边距变小(把窗口拉窄)时,sidebar 会继续待着还是自动收起来,建议选择 false,即会自动收起来,不然很丑
1 | # Sidebar Avatar |
- 这一部分是设置头像的
- url:头像的图片保存在 themes/next/source/images 文件夹中
- rounded:头像变成圆框,推荐
- rotated:鼠标放上去会旋转,
有点沙雕
1 | # Posts / Categories / Tags in sidebar. |
- 是否展示这三个图标,方便你在 sidebar 里快速导航
1 | # Social Links |
- 社交链接:自行设置即可,||后面依然是图标
有点写不动了,感觉注释很详细,可以跟着注释去做
设置右上角 Github 图标
1 | # `Follow me on GitHub` banner in the top-right corner. |
参考文章: Hexo + Github
Page|基础教程 (二):NexT 主题基本美化|全网最细致全面的教程